Two questions come up in almost every conversation about galvanized fish ponds: how hard is assembly, and how long will it last. This guide covers both, from site prep to stocking day, plus maintenance and the problems we see most. If you're still comparing pond types, our complete guide covers sizing; this one assumes you already have the tank.
Before you start
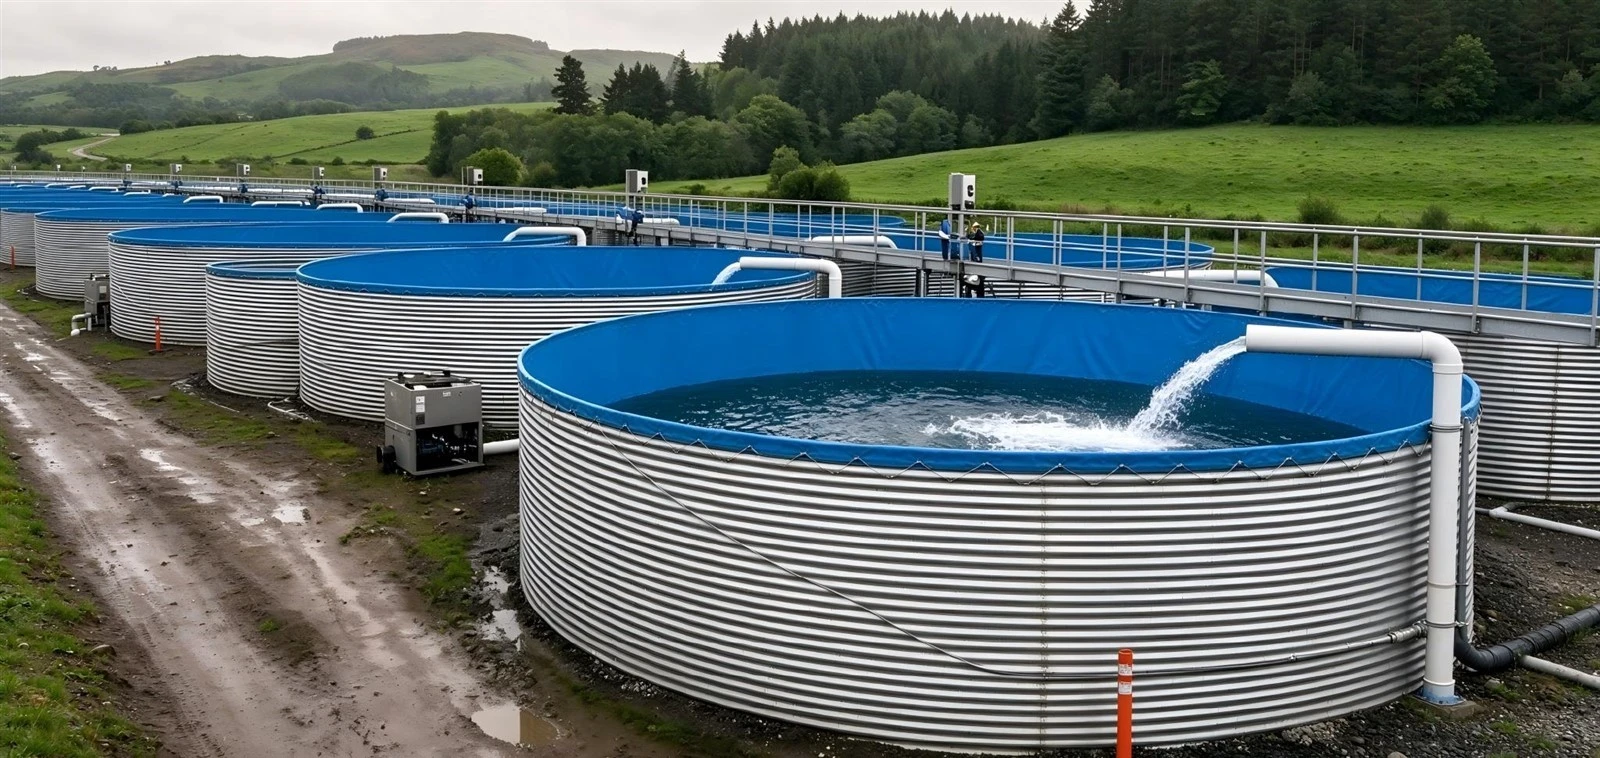
Most of the work is preparation, not assembly. The site needs to be flat and firm: concrete, compacted gravel or hard-packed soil all work. Level is the whole game; an uneven base stresses the walls unevenly and the water line ends up looking wrong. Give the site drainage so rain doesn't pool under the tank, and make sure you have power and water nearby if you're running aeration.
Check the packing list before anything else. Count panels, bolts and accessories, and report shortages right away, while they're still easy to fix. Have a rubber mallet, socket wrench, spirit level and a sharp knife for the liner on hand. If the supplier includes an underlay pad for the base, use it; it's cheap insurance against the liner wearing through.
Assembly, step by step
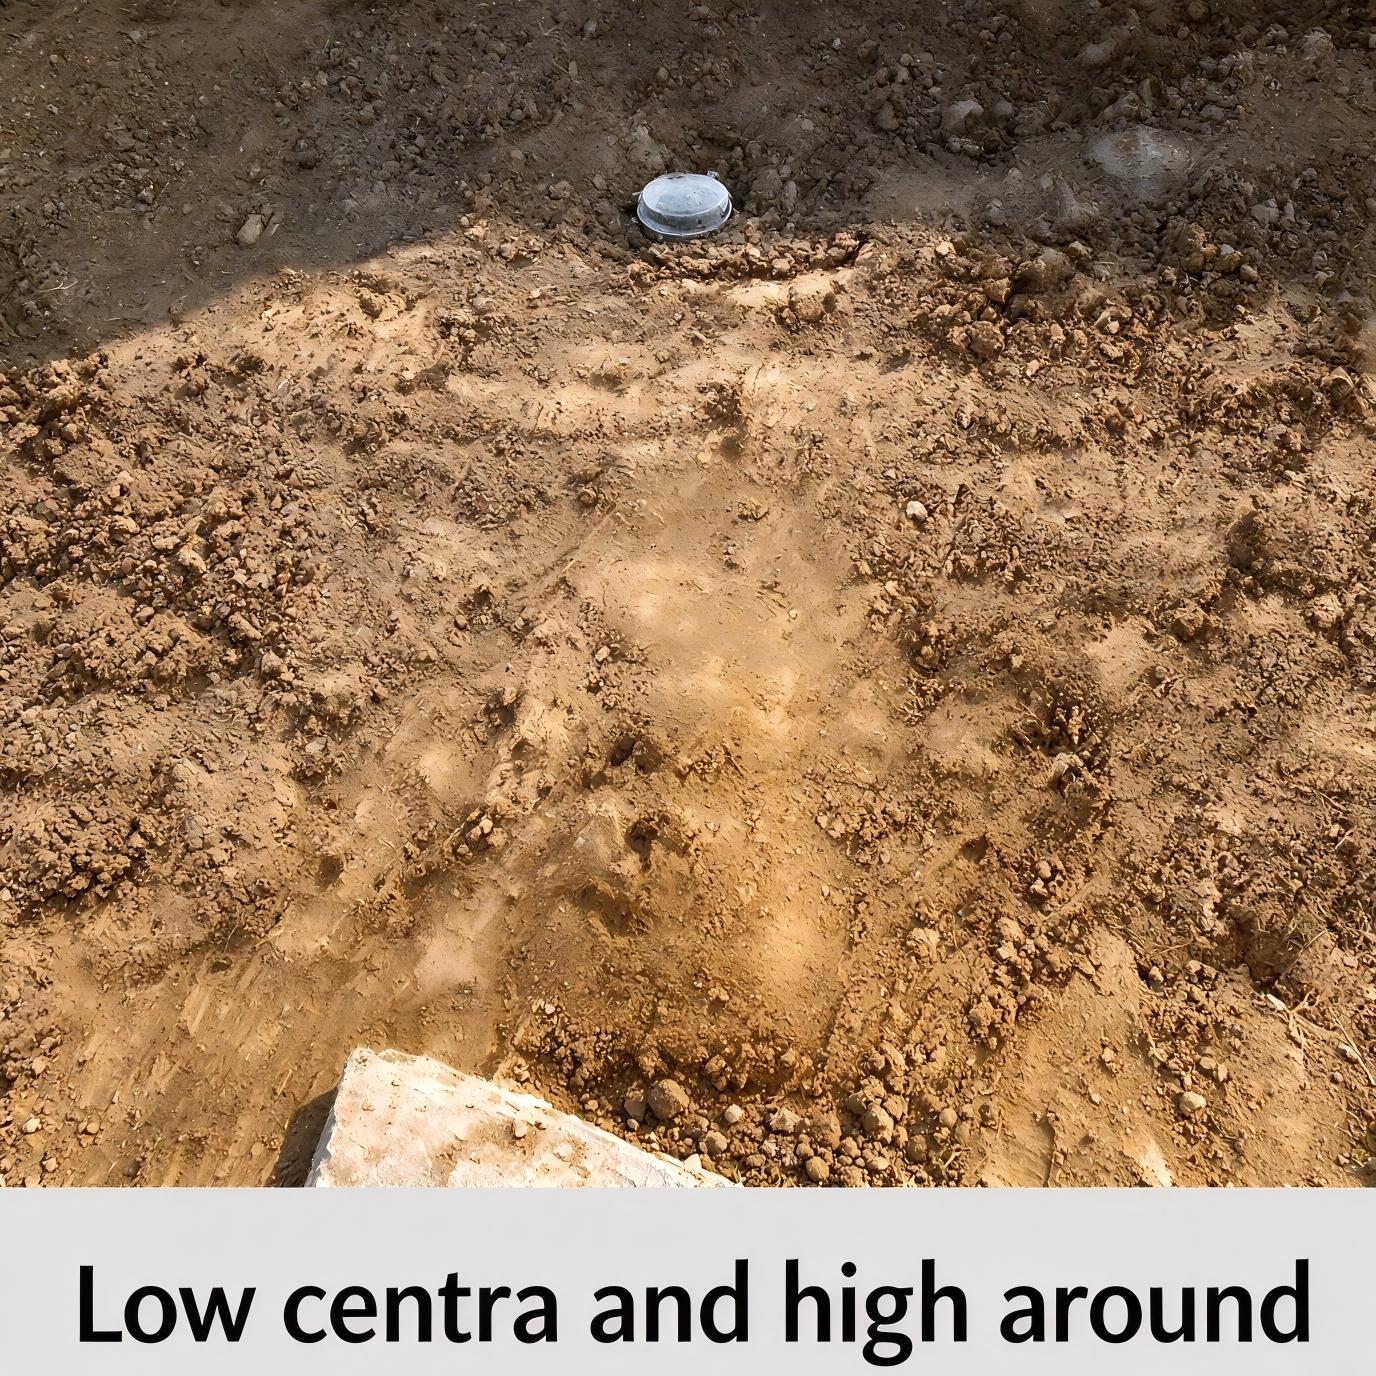
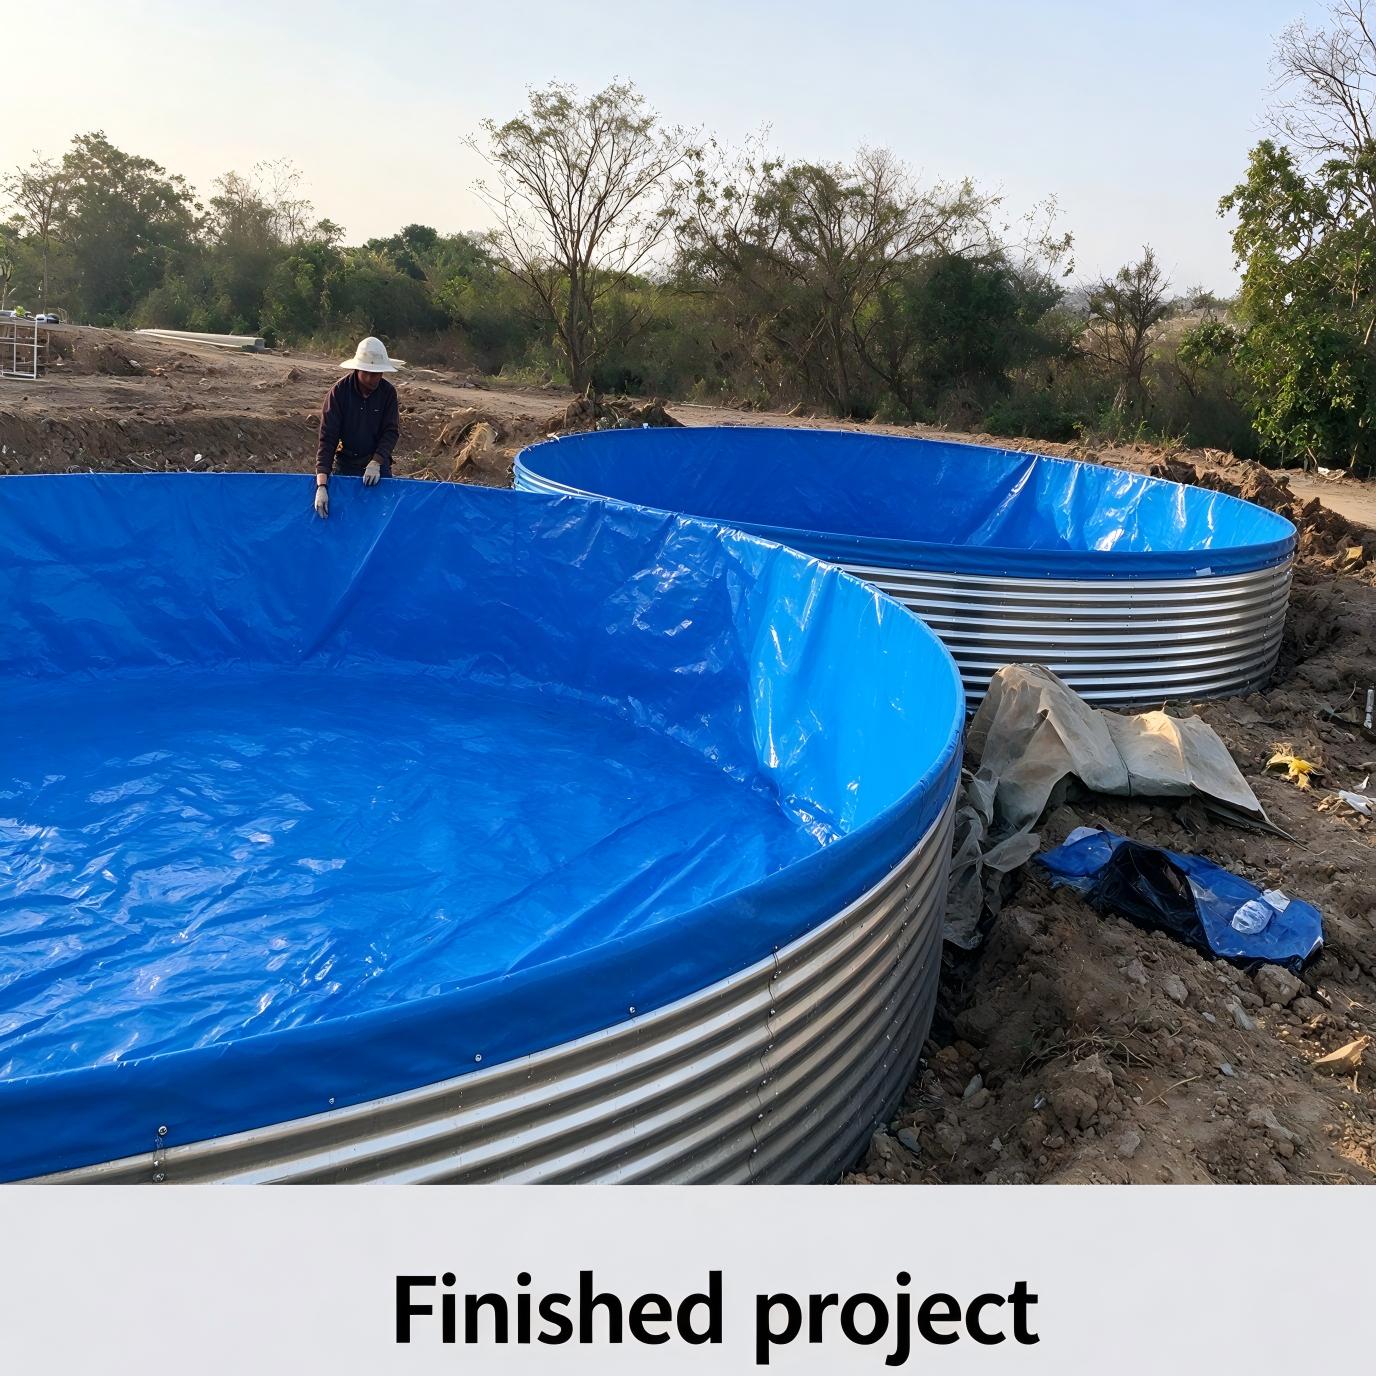
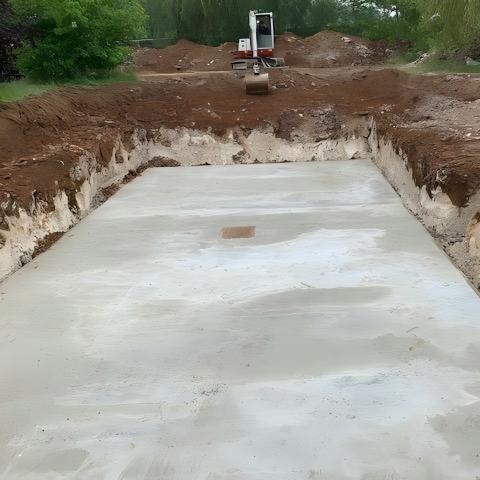
Step 1 - Prepare the base.
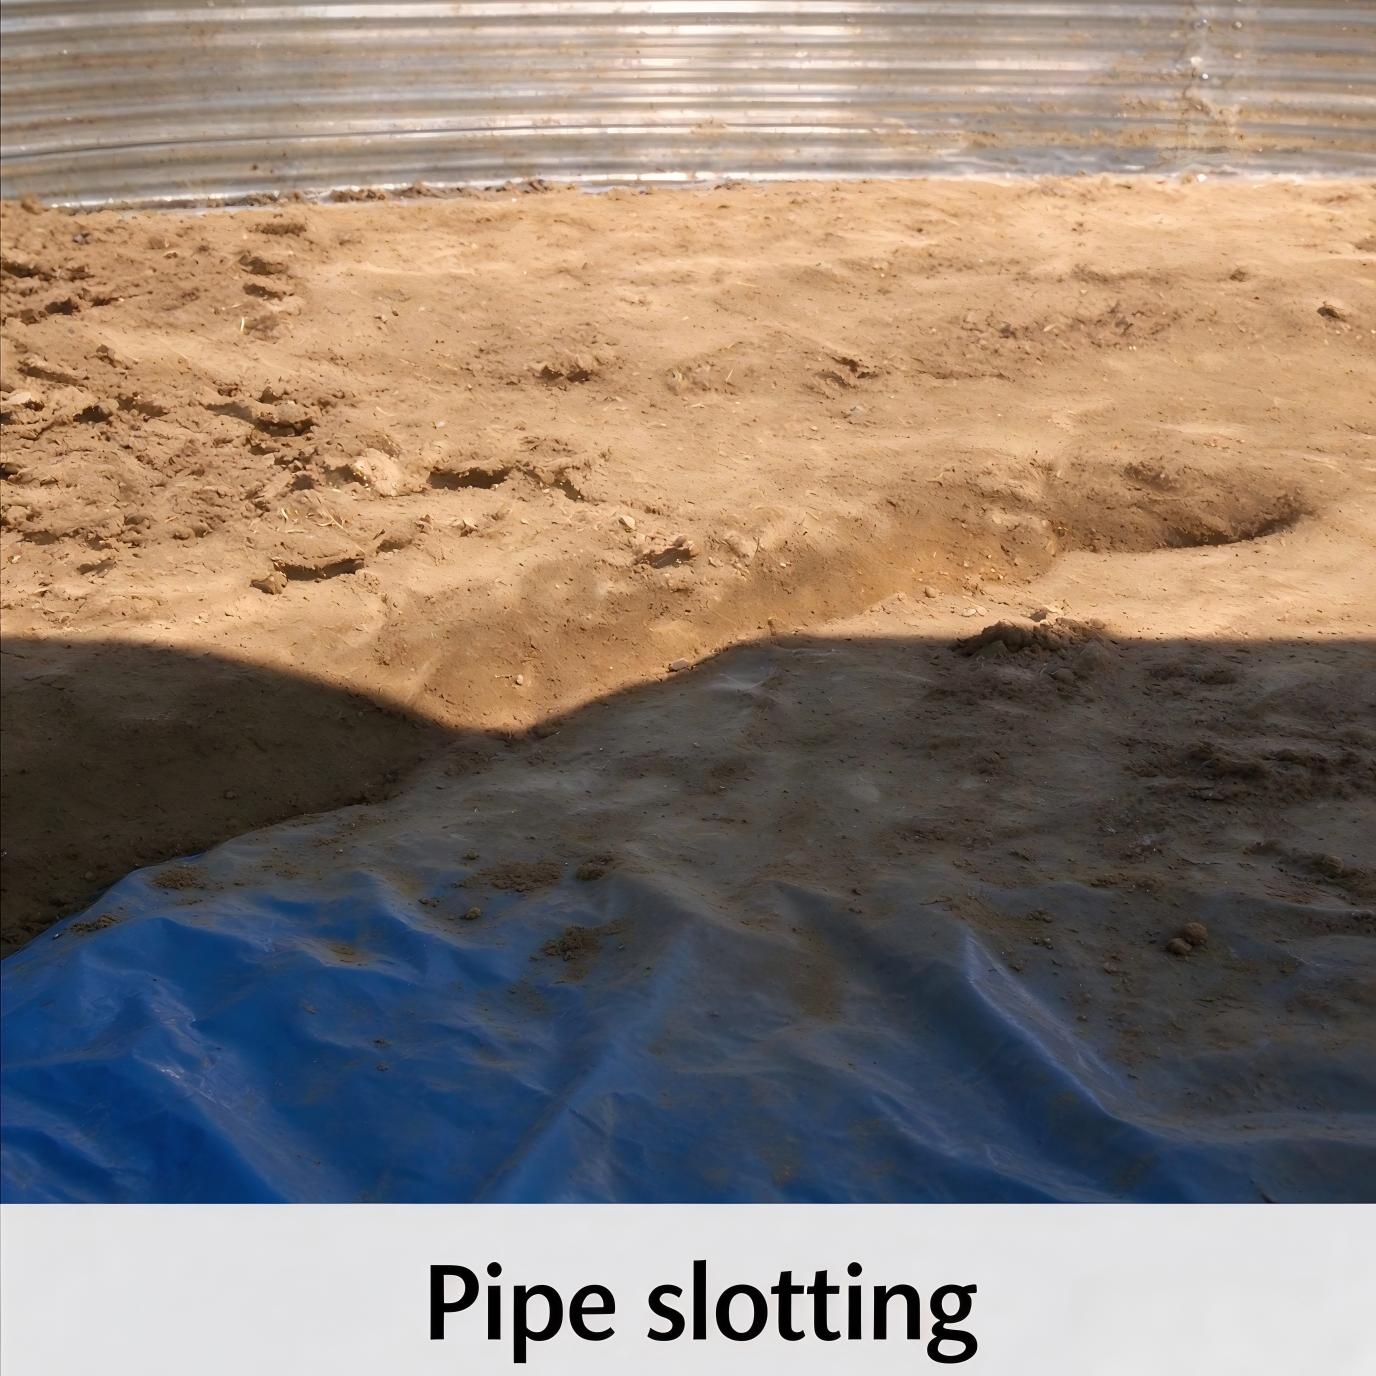
Clear, level and compact the area; larger tanks usually get a concrete ring or pad. A few centimeters out of level across a 6 m base is enough to cause trouble.
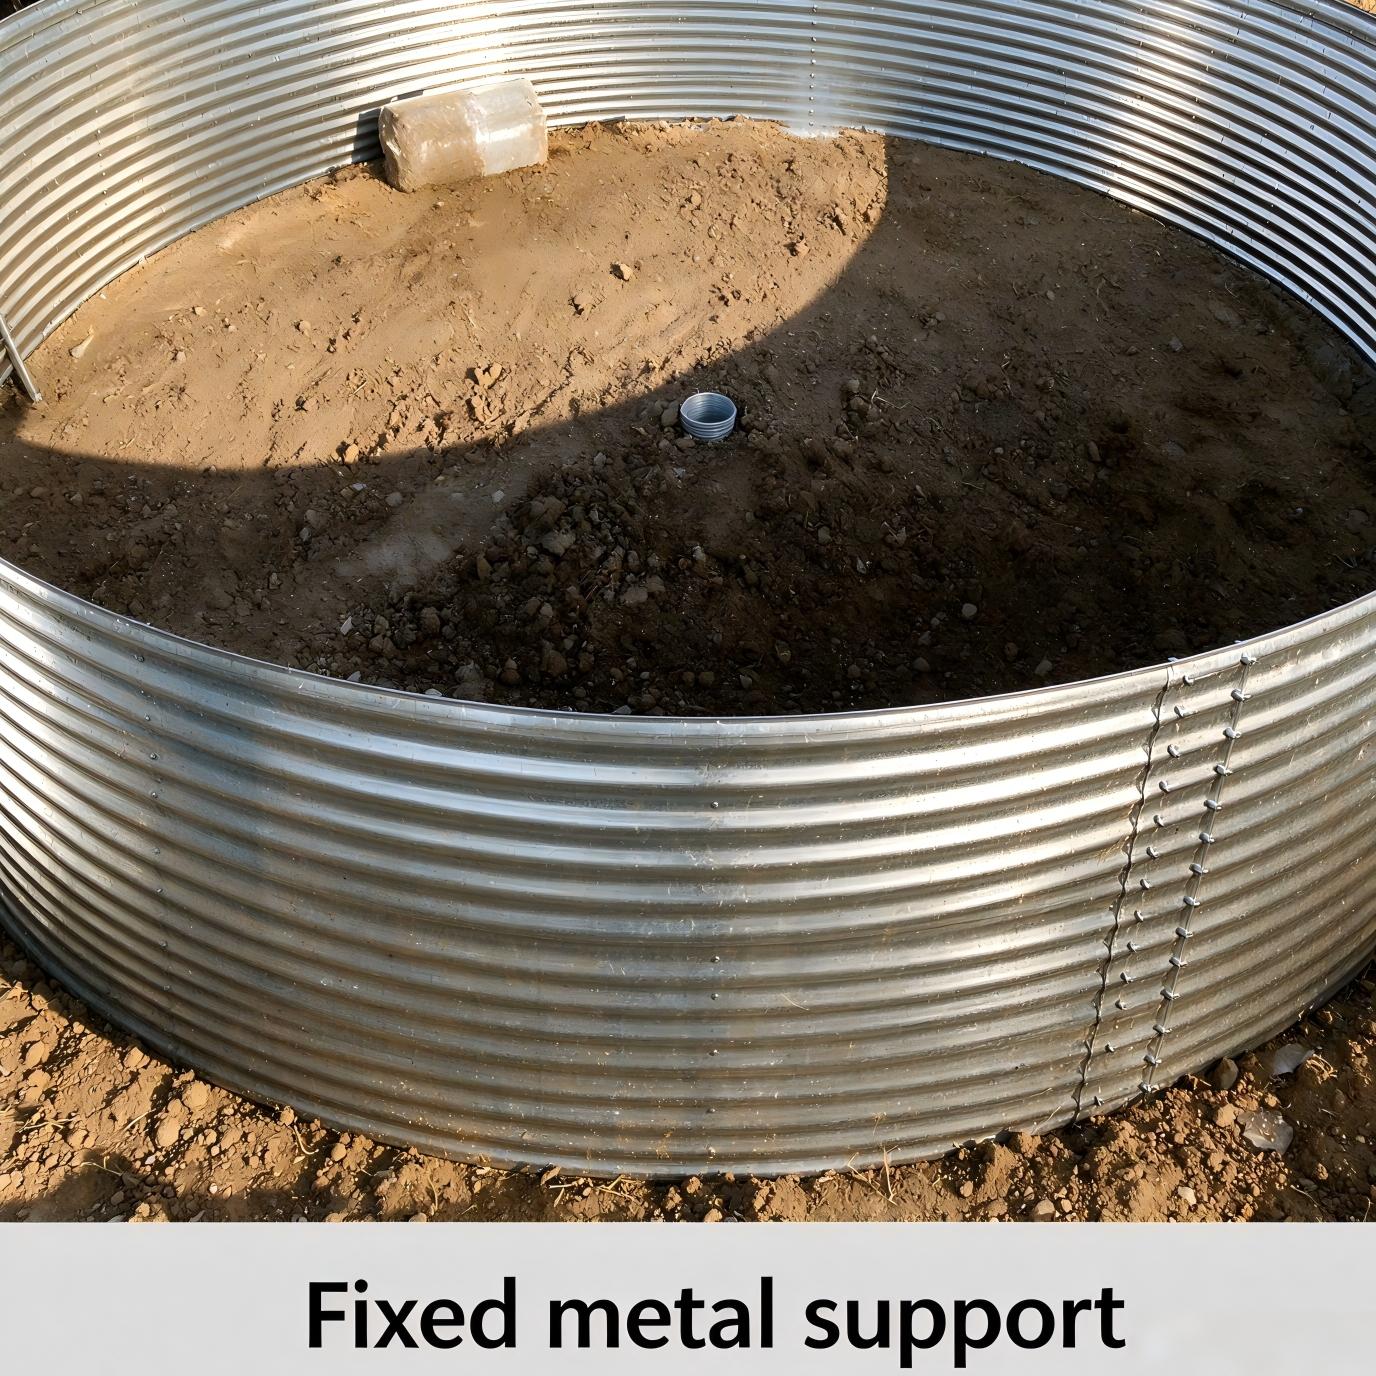
Step 2 - Assemble the frame.
Lay out the panels using the numbers stamped on each one. Bolt the ring loosely first, then tighten progressively from one side to the other. Crank one bolt before the rest are in place and you twist the frame. Follow the torque spec if one is given.
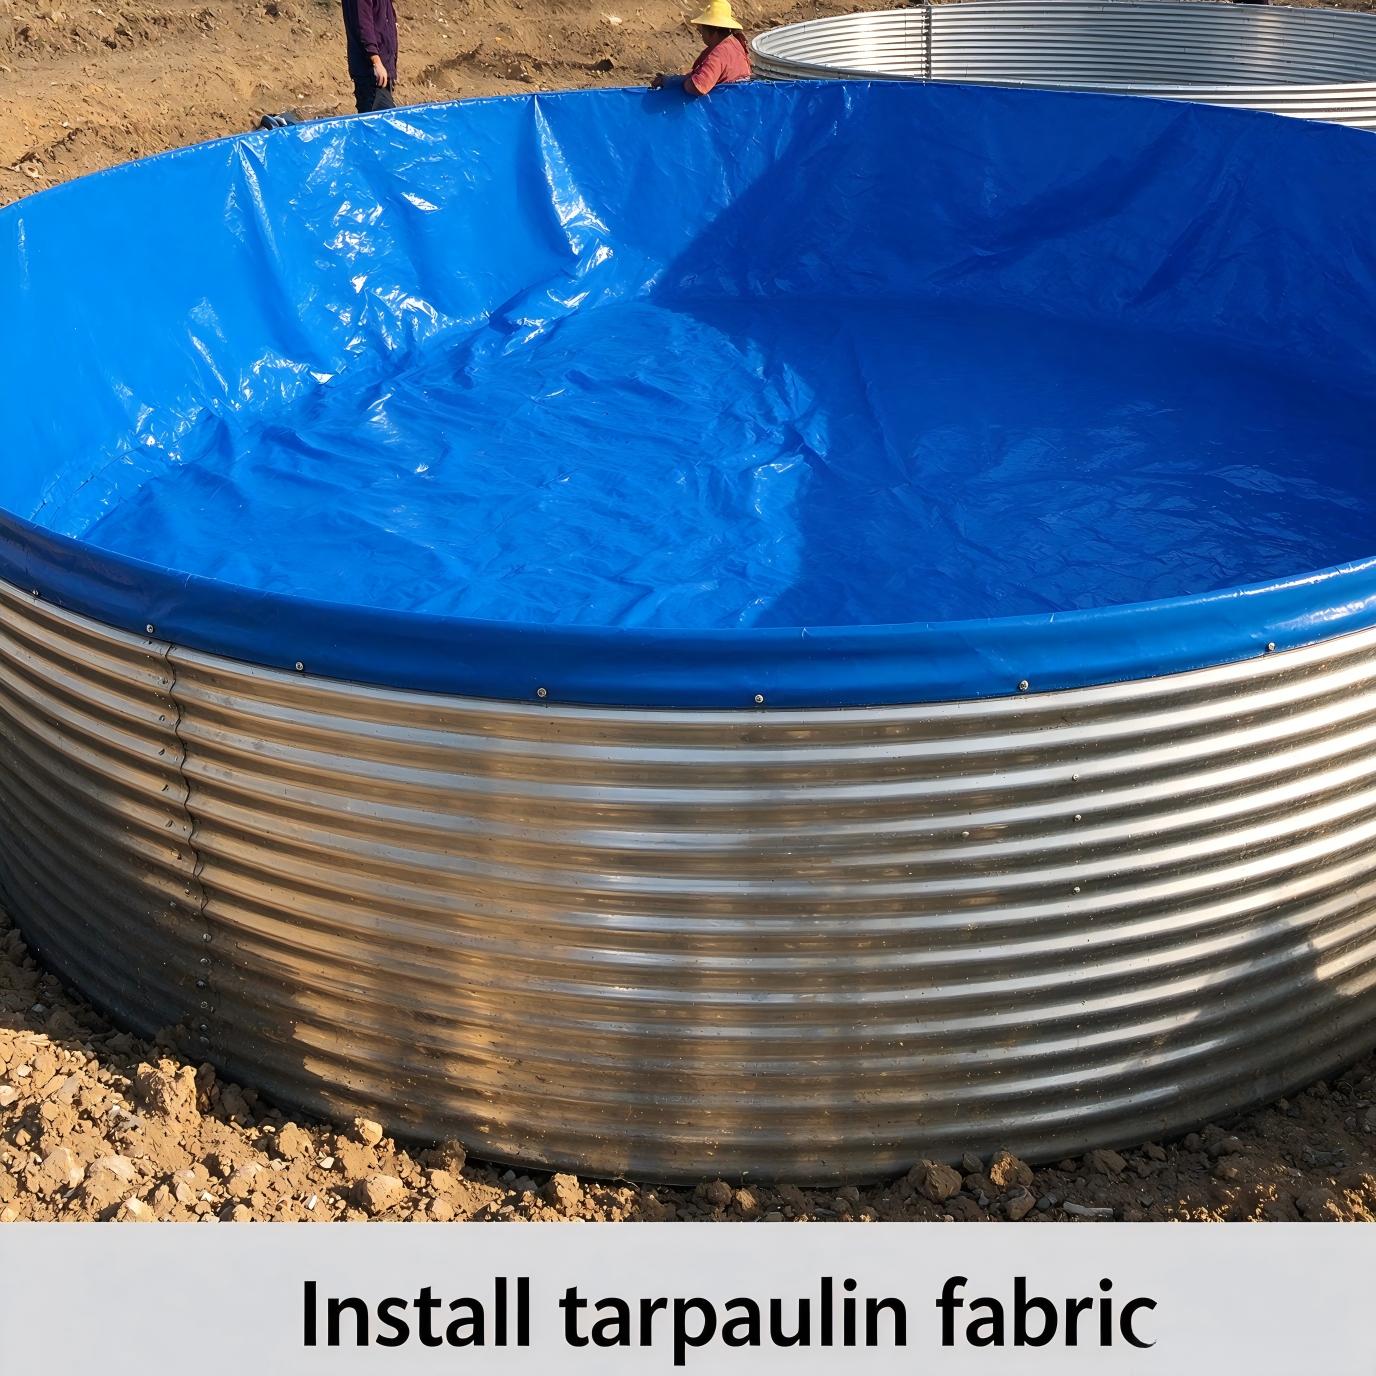
Step 3 - Lay the liner.
Put the underlay down, unfold the liner and position it before adding water, working out wrinkles as you go; trapped air causes bubbles and stress points later. Most liner damage happens during installation, usually from sharp soles or dragging it across a bolt head.
Step 4 - Fill slowly.
Add water in stages. The first shallow fill lets you check level and spot leaks in liner and seams while fixing is easy. Then fill to working depth, watching the water line as it rises. A leak found late means emptying a full tank and repairing wet, so check every seam, the drain fitting and the liner corners before the final fill.
Step 5 - Condition the water.
A new tank isn't fish-ready the day it's filled. Dechlorinate tap water if that's your source, run the aeration, and let the tank cycle or add the biofilter starter your supplier recommends. Test pH, ammonia and nitrite before introducing fish, and start with a small batch.
The mistakes we see most: skipping the base leveling, rushing the liner, and stocking fish into unconditioned water.
How long does it last?
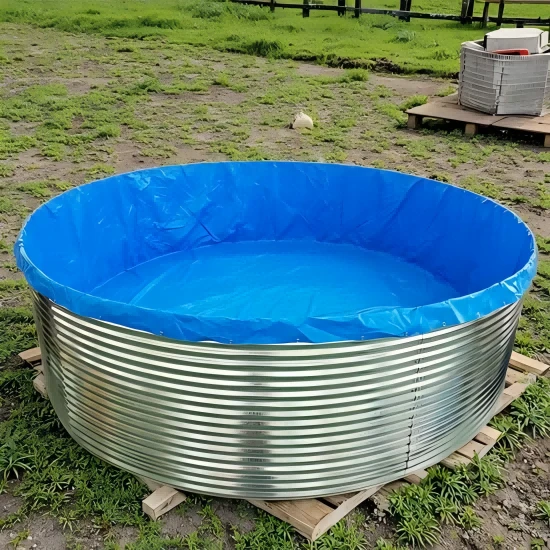
The structure and the liner age differently. The galvanized steel frame is the long-lived part, and with the liner protecting the water side, it serves for many years. The liner is the wearing part: it takes UV, temperature swings and daily cleaning, so inspect it regularly and replace it on the manufacturer's schedule.
What shortens life: thin coating grades in coastal salt air, acidic water, physical damage, standing water around the base. What extends it: a good underlay, prompt repair of scratches and dents, keeping the site drained. Ask the supplier to put the expected service life in writing.
Daily and seasonal maintenance
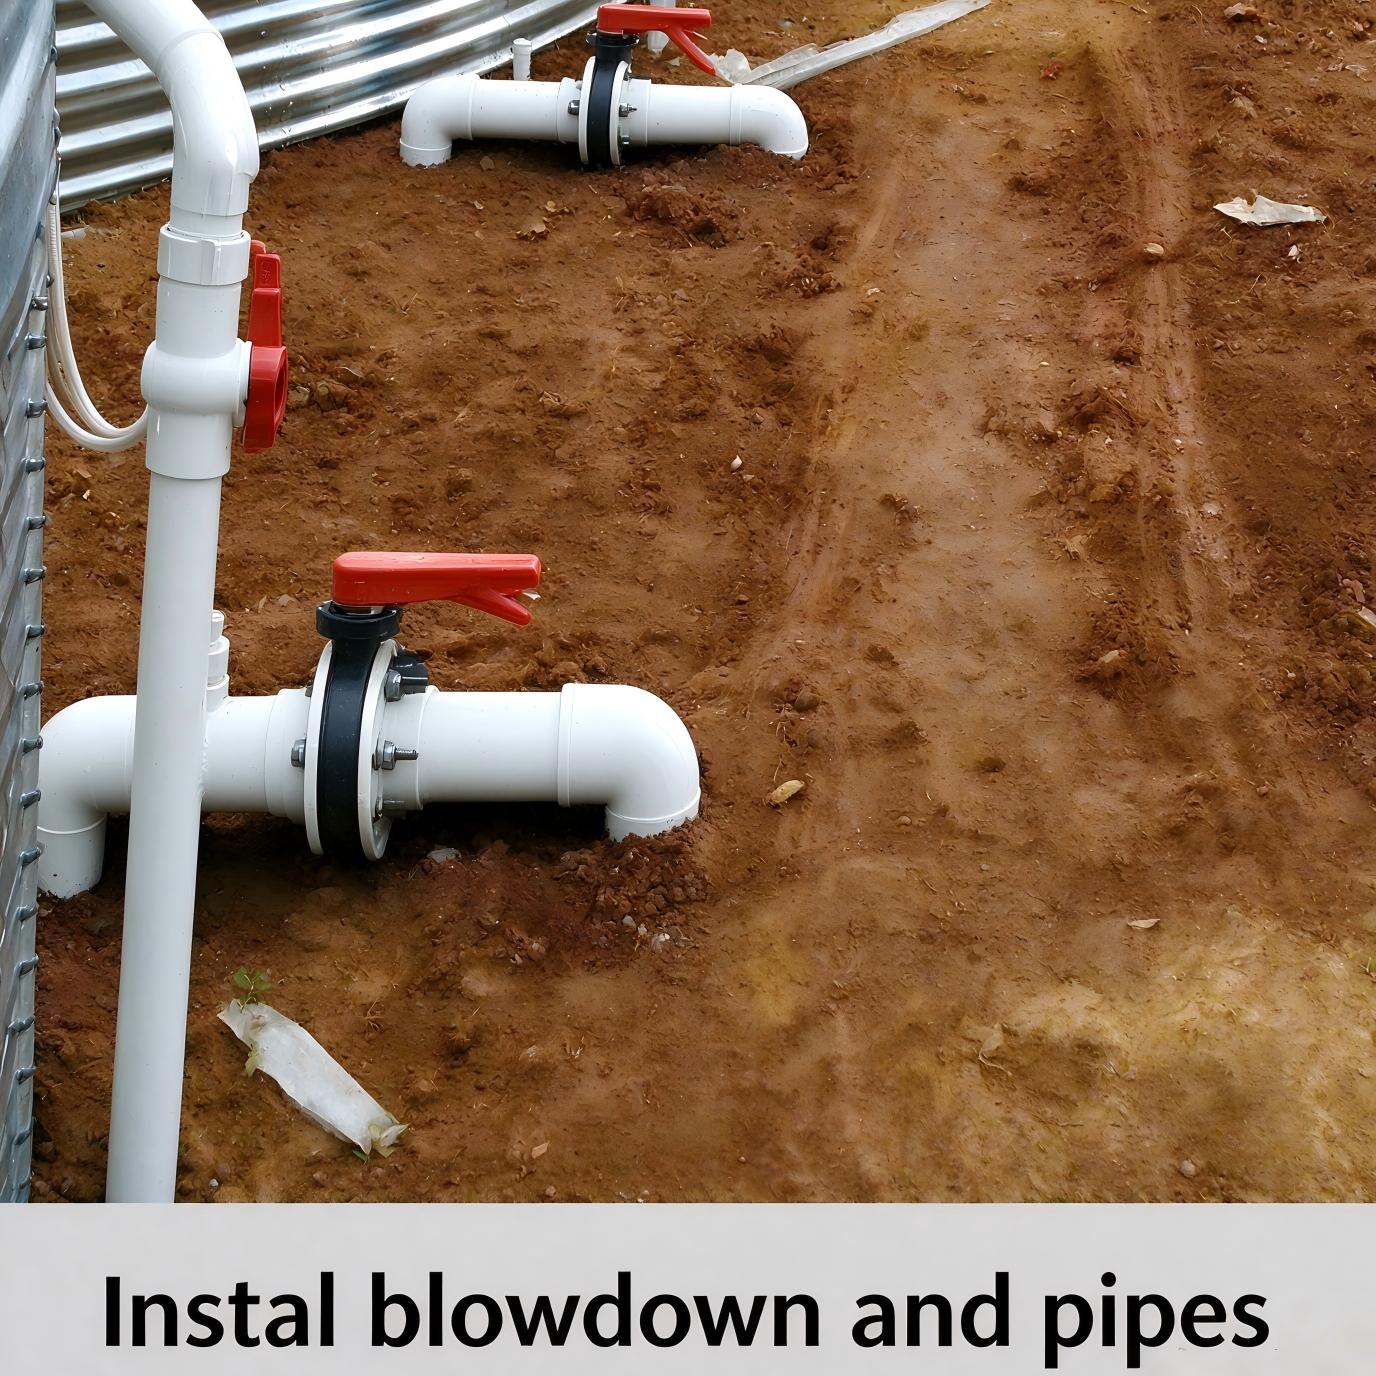
Daily work is observation: fish behavior, water level, aeration running. Weekly, top up water and check fittings and the liner edge. Test water rather than guess; pH, ammonia and nitrite matter most in a new or dense system. Scheduled partial changes beat big emergency ones, and because sludge settles toward the center of a round tank, you can drain it without emptying the pond.
Feeding is the water-quality lever people forget. Overfeeding fouls a tank faster than anything, because the waste shows up as ammonia before you see it in the fish. Feed by observation, skip a meal when the fish are off their food, and adjust as temperature changes.
Seasonally: in hot weather, shade and extra aeration carry the load; in cold climates, either drain the tank or keep water moving and heated enough to avoid ice damage; in rainy seasons, keep the base drained so the ground doesn't soften under the tank.
Common problems
If the water level drops, rule out evaporation against a marked reference first, then check seams and liner. A small puncture patches with a repair kit; a leaking seam usually means a bolt or gasket needs attention.
Rust spots on the outside start at scratches: clean the spot and touch it up with zinc-rich paint made for galvanized surfaces. Rust inside a lined tank means the liner was damaged, and the liner needs the repair, not the steel.
Algae: shade, controlled feeding and regular sludge removal do more than chemicals. If you treat, use products safe for aquaculture and follow the label. And saltwater or high-salinity use is a design question, not a maintenance one: confirm materials, seals and liner with the supplier before ordering.
Quick answers
Will the steel hurt my fish? In a lined tank the water never touches the steel, so no.
How long will it really last? The structure serves for many years in normal freshwater use; the liner is the replaceable part, on the manufacturer's schedule.
Can I use it for seawater? Standard tanks are built for freshwater. Seawater needs specific materials, so confirm before you order.
How many fish can I keep? More about aeration and water management than volume. With good aeration, tilapia tanks can exceed 60 kg/m³; without it, plan for much less.
What to ask before you pay
Get these in writing: steel grade and coating weight with the mill test certificate, panel thickness, liner material and food-grade certification, whether bolts and gaskets are included, expected service life and warranty, and custom sizes and drain options.
Those questions are a filter. A supplier who answers them clearly usually ships complete panels and matched bolts; the cheapest quote that can't stops being cheap the first time a bolt is missing or a seam leaks.
We ship our panels with assembly instructions, and if you're planning a system, tell us your target species and volume and we'll help you size it. Our product page shows the range, and the fastest way to a quote is the inquiry form.