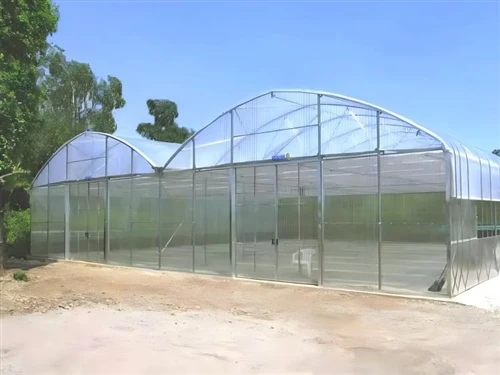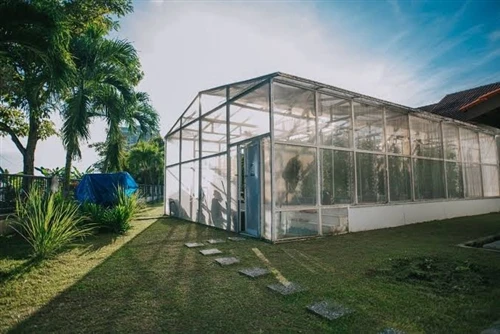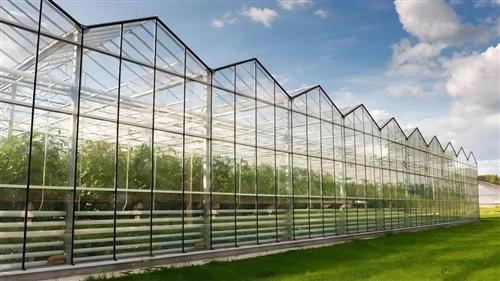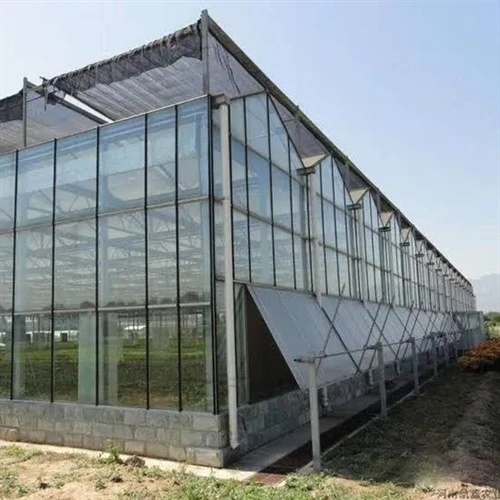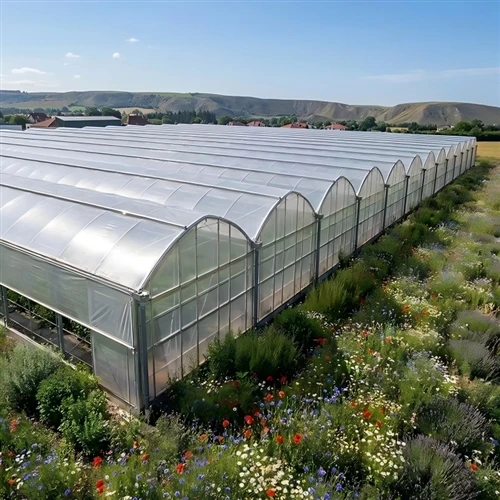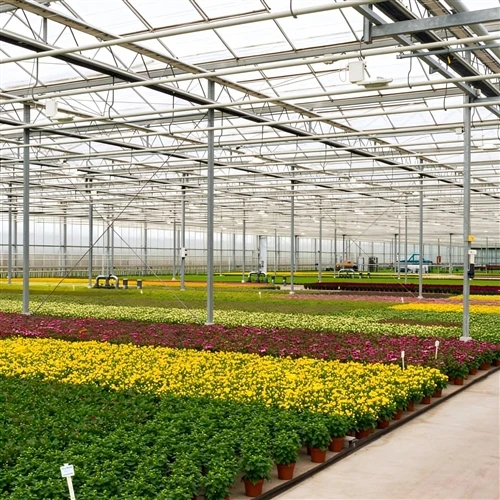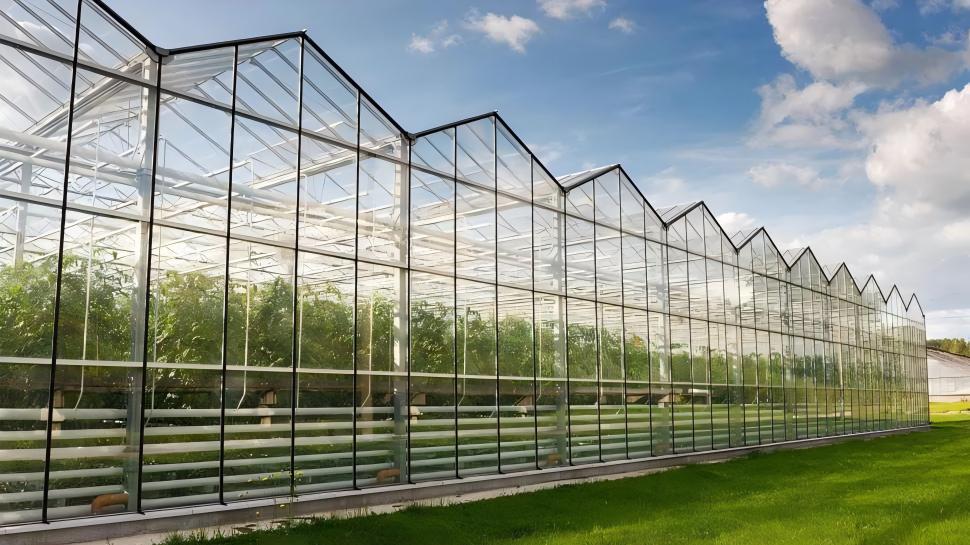
The frame is the part of a greenhouse that does the hardest work. It carries the covering, holds the vents, and takes the wind. Get it right and the structure looks after itself; get it wrong and every year brings a repair. This guide explains how to install a steel greenhouse frame, from site selection to final inspection, for standard greenhouse kits and custom-built frames. It draws on projects we have followed in East Africa and Southeast Asia.
Before You Start: Site, Ground, Tools and Safety
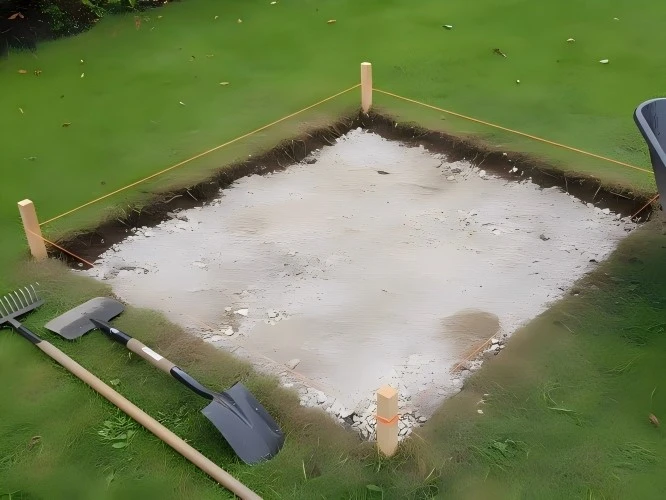
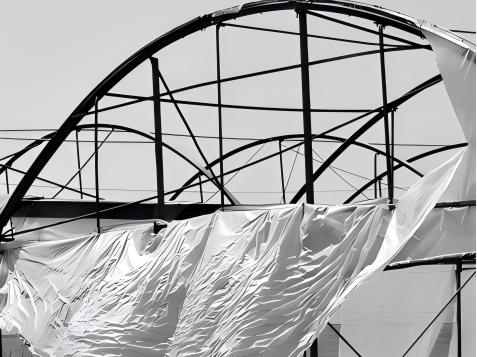
Start with the site, not the steel. A frame on poorly drained ground will shift, however well it is bolted, and a frame on uneven ground twists as you tighten it, loading joints never designed for it. Choose a spot with full sun and no morning shade from buildings or trees. Check the drainage; if the area floods, raise the floor or pick higher ground. Then think about wind; where you can, point the end wall into it so the structure presents its narrowest face.
The tool list is short, and almost everything on it is easy to find locally: a cordless drill or impact driver, open-end wrenches, a socket set, spirit level, tape measure, string line, and a rubber mallet. Gloves and safety goggles are not optional. Arches and trusses are heavy; lift them with two people and stay clear of power lines.
Foundation Options: Piles, Concrete Piers or Ground Rails
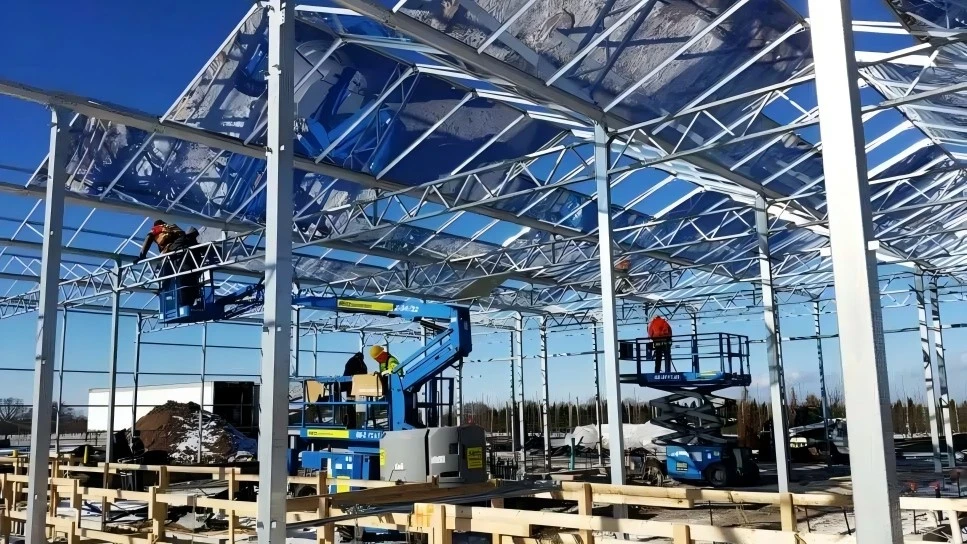
There is no single correct foundation. The choice follows your soil, budget, and how long the greenhouse will stay in place; in most regions we work in, one of three options covers it.
Driven piles are the quickest and cheapest route: drive the stakes to firm ground, which suits temporary houses and light frames in stable soil. The catch is that piles work loose over time, fastest in sandy or soft ground, common along much of the coast.
Concrete piers are the stronger option, and the one we suggest for permanent structures near the coast. Curing needs care in hot climates; concrete that dries out too fast cracks and never reaches full strength, and we have seen dry-season pours left uncovered fail exactly that way. Keep the piers damp under cloth or plastic for at least seven days, ten to fourteen in very hot, dry weather. Where the soil is weak, bolt a ground rail on top of the piers; it ties the build together and gives a level, continuous reference line.
Step-by-Step Frame Assembly
Once the foundation is ready, follow a set order, checking each stage as you go.
Step 1: Lay the base rail and bolt it down finger-tight. Check level and square first; the base rail decides every measurement that follows.
Step 2: Assemble the end walls flat on the ground; safer than working at height. Raise each wall, fix it to the base rail, and brace it.
Step 3: Erect the arches or trusses one at a time, keeping spacing uniform. Check each interval with a template or marked string; drift at one end shows up when the covering goes on.
Step 4: Install the purlins, the horizontal members running between the arches along roof and walls. They tie the frame together and give the covering a fixing line.
Step 5: Fit the diagonal bracing. This is the step people skip and the one that matters most in wind; it stops the frame racking sideways. Fit it at the corners and regular intervals.
Step 6: Mount the doors and vents before covering. A door frame is easier to adjust with nothing in the way.
Step 7: Apply the covering. With film, work on a calm day and pull it evenly so tension stays consistent; with polycarbonate sheets, use the supplied fasteners and seal the overlaps.
Step 8: Add the shade net and irrigation hanging points last. The net sits above the roof with a ventilation gap, and the hanging points fix to the purlins or dedicated crossbars.
Key Control Points During Assembly
Two habits keep a build honest. The first is checking squareness at every stage with the 3-4-5 method: measure three units along one side, four along the other, and the diagonal should come out at five. It is the Pythagorean theorem in practical form. The second is uniform arch spacing; even spacing spreads the load and makes the covering fit cleanly. One wide gap is one weak point.
Bolt torque gets less attention than it deserves. Tighten progressively, outward from the center of each frame; overtightening strips threads, undertightening leaves joints loose in the wind. The film should go on evenly, without wrinkles; they concentrate stress and give the wind something to grab, while a smooth surface sheds it far better. Recheck the film and all fixings after the first storm.
Anchoring is the last control point, and the one we never compromise on. Base plates must be bolted to the foundation, not merely laid on it. In typhoon and cyclone zones, such as parts of the Philippines and the Vietnamese coast, add extra anchors and corner cable ties.
Details Specific to a Flower Greenhouse
A flower house carries more than a vegetable house. Hanging baskets, drip lines and shade nets all add weight, so plan the loads before covering. Hanging rods and basket hooks fix to the purlins or dedicated crossbars; check the load rating of each component and spread baskets evenly, since point loads bend frames over time.
Drip lines run along the purlins, held with clips, clear of doors and vents, emitters above each row. The shade net goes above the roof with a 20 to 30 cm gap so hot air escapes, and a shading factor of 50 to 70 percent suits most flower crops. In Kenya's Naivasha area, a major flower-growing region, growers treat it as standard equipment.
Common Mistakes to Avoid
Most greenhouse frame installations go wrong in the same four places, none involving the steel itself.
The first is arch spacing pushed too wide to save money; it also cuts wind resistance, so stay inside the design spacing. The second is bracing skipped to save time; an unbraced frame racks sideways in wind and can collapse progressively.
The third is buried steel left unprotected; steel in soil corrodes far faster than steel in the air, so use galvanized components below grade or coat them. The fourth is film fitted too loosely; it flutters, wears at the fixing points, and eventually tears. Each is cheaper to fix during assembly than after.
Acceptance Checklist After Installation
Before moving any plants in, run through this list. It takes ten minutes.
- The base is level and all anchor bolts are tight.
- The frame is square at both ends and the middle.
- The arch spacing is uniform.
- All bolts are torqued and no joint is loose.
- All diagonal braces are installed.
- The covering is even and tensioned.
- Doors and vents open and close freely.
- The shade net is fixed with a ventilation gap.
- All hanging loads are within the rated capacity.
- The anchors are secure, with extra bracing near the coast.
None of this is complicated, but none of it can be skipped. A greenhouse frame earns its keep in the first season, and the difference between ten years and three is usually the basics: a level base, a square frame, bracing actually fitted, and a covering tensioned properly. The engineering is standard practice; what separates good installation is discipline on the day.
Notes and References
Figures here are practical guidelines from field experience in Africa and Southeast Asia; verify them against local practice and the supplier's drawings before you build. Hot-dip galvanized coatings are covered by ISO 1461, and structural steel design by EN 1993-1-1.